Your cart is currently empty!
Create an Easy Flask on GCP with Apache
Quick and easy note to deploy a Python Flask app on GCP(Google Cloud Platform), including configuring Apache web service and Certbot Free Let’s Encrypt SSL/TLS.
Reference: ChatGPT4、https://docs.bitnami.com/google/apps/wordpress/、https://certbot.eff.org
All Steps
- Of course adding a python Flask document.
- Running Flask with Gunicorn.
- Configuring Apache Reverse Proxy to Flask port, and point DNS to server.
- Installing Certbot SSL/TLS for your Flask.
- Configuring Certificate location to Apache.
Adding a python Flask document
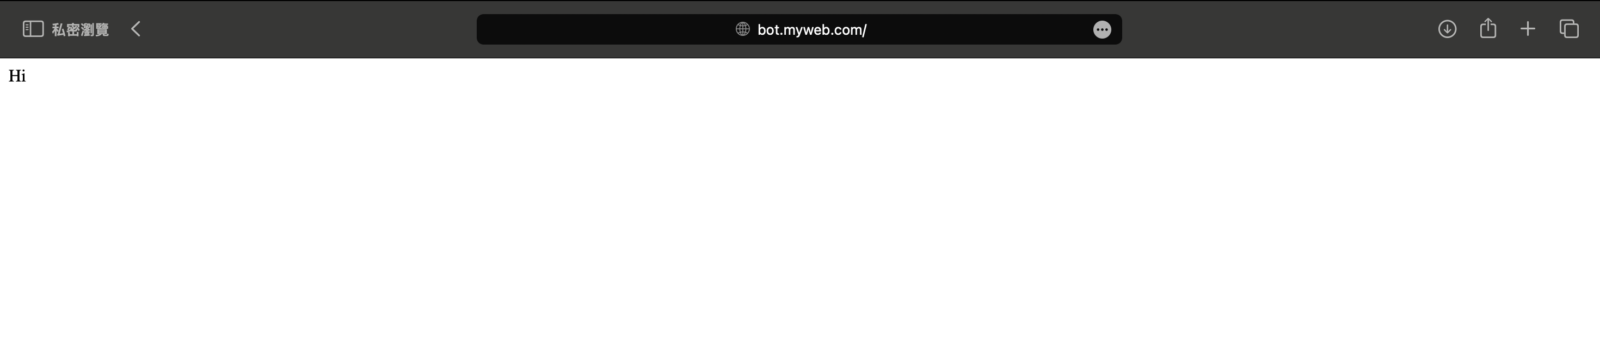
You will be able to see ‘Hi’ in the browser if you run the python in shell: $ python3 app.py
My structure is simeple: the app.py saved in the bot folder.
# app.py
from flask import Flask

app = Flask(__name__)

@app.route('/')
def home():
    return 'Hi'

if __name__ == '__main__':
    app.run(port=5555)
Running Flask with Gunicorn using Systemd
In brief, Systemd is a service/system management application really popular on Linux.
sudo systemctl [action] service_name.service
Using actions like start/stop/restart/status/enable/disable to control your service
We define the system details in the file bot.service in /etc/systemd/ststem, which include what is the service, how it runs, where it runs.
$ /etc/systemd/system $ cat bot.service
[Unit]
Description=Gunicorn running Bot services and APIs
After=network.target

[Service]
User=user_gabriel
Group=www-data
WorkingDirectory=/home/user_gabriel/bot
Environment="PATH=/home/user_gabriel/.local/bin/python3"
ExecStart=/home/user_gabriel/.local/bin/gunicorn --workers 3 --bind 127.0.0.1:5555 app:app

[Install]
WantedBy=multi-user.target
Later check the service using sudo systemctl status bot.service.
Obviously the Flask service is running with Active: active (running)
# /etc/systemd/system $ sudo systemctl status bot.service
lines 1--1...skipping...
● bot.service - Gunicorn running Bot services and APIs
     Loaded: loaded (/etc/systemd/system/bot.service; disabled; vendor preset: enabled)
     Active: active (running) since Sun 2024-02-25 19:41:56 UTC; 21min ago
   Main PID: 2671 (gunicorn)
      Tasks: 4 (limit: 1145)
     Memory: 52.9M
        CPU: 1.067s
     CGroup: /system.slice/bot.service
             ├─2671 /usr/bin/python3 /home/user_gabriel/.local/bin/gunicorn --workers 3 --bind 127.0.0.1:5555 app:app
             ├─2673 /usr/bin/python3 /home/user_gabriel/.local/bin/gunicorn --workers 3 --bind 127.0.0.1:5555 app:app
             ├─2674 /usr/bin/python3 /home/user_gabriel/.local/bin/gunicorn --workers 3 --bind 127.0.0.1:5555 app:app
             └─2675 /usr/bin/python3 /home/user_gabriel/.local/bin/gunicorn --workers 3 --bind 127.0.0.1:5555 app:app

Feb 25 19:41:56 web-vm systemd[1]: Gunicorn running Bot services and APIs.
Feb 25 19:41:57 web-vm gunicorn[2671]: [2024-02-25 19:41:57 +0000] [2671] [INFO] Starting gunicorn 21.2.0
Feb 25 19:41:57 web-vm gunicorn[2671]: [2024-02-25 19:41:57 +0000] [2671] [INFO] Listening at: http://127.0.0.1:5555 (2671)
Feb 25 19:41:57 web-vm gunicorn[2671]: [2024-02-25 19:41:57 +0000] [2671] [INFO] Using worker: sync
Feb 25 19:41:57 web-vm gunicorn[2673]: [2024-02-25 19:41:57 +0000] [2673] [INFO] Booting worker with pid: 2673
Feb 25 19:41:57 web-vm gunicorn[2674]: [2024-02-25 19:41:57 +0000] [2674] [INFO] Booting worker with pid: 2674
Feb 25 19:41:57 web-vm gunicorn[2675]: [2024-02-25 19:41:57 +0000] [2675] [INFO] Booting worker with pid: 2675
Configuring Apache Reverse Proxy to Flask port
After making sure that the Flask and Gunicorn is running, cd /opt/bitnami/apache2/conf/vhosts to create an Apache module for port 5555.
There are 4 files and a folder htaccess in vhosts, including 3 in default bitnami stack and one of my website. using sudo vim bot.conf to create a new module configuration.
# /opt/bitnami/apache2/conf/vhosts $ ls
00_status-vhost.conf wordpress-https-vhost.conf wordpress-vhost.conf
bs_web.conf htaccess
<VirtualHost *:80>
ServerName bot.myweb.com
ProxyRequests Off
ProxyPreserveHost On
# Excluding Let's Encrypt challenge
ProxyPass /.well-known/acme-challenge !
ProxyPass / http://127.0.0.1:5555/
ProxyPassReverse / http://127.0.0.1:5555/
</VirtualHost>As long as you finished, please remember to restart your Apache using sudo /opt/bitnami/ctlscript.sh restart apache. By the way, please make sure you have your DNS point to the server.
Installing Certbot SSL/TLS for your Flask
To look a little deeper, you could find details on https://certbot.eff.org.
cat /opt/bitnami/apache2/conf/bitnami/bitnami.conf. Here you could find where your DocumentRoot is, you should include it by –webroot -w while getting SSL/TLS via certbot.
# Check if available with --dry-run
/opt/bitnami/apache/conf/bitnami $ sudo certbot certonly --dry-run --webroot -w /opt/bitnami/apache/htdocs -d bot.myweb.com
Saving debug log to /var/log/letsencrypt/letsencrypt.log
Simulating a certificate request for bot.ridebubu.com
The dry run was successful.

# Execute get certificate
/opt/bitnami/apache/conf/bitnami $ sudo certbot certonly  --webroot -w /opt/bitnami/apache/htdocs -d bot.myweb.com
Saving debug log to /var/log/letsencrypt/letsencrypt.log
Requesting a certificate for bot.myweb.com

Successfully received certificate.
Certificate is saved at: /etc/letsencrypt/live/bot.myweb.com/fullchain.pem
Key is saved at:         /etc/letsencrypt/live/bot.myweb.com/privkey.pem
This certificate expires on 2024-05-25.
These files will be updated when the certificate renews.
Certbot has set up a scheduled task to automatically renew this certificate in the background.

- - - - - - - - - - - - - - - - - - - - - - - - - - - - - - - - - - - - - - - -
If you like Certbot, please consider supporting our work by:
 * Donating to ISRG / Let's Encrypt:   https://letsencrypt.org/donate
 * Donating to EFF:                    https://eff.org/donate-le
- - - - - - - - - - - - - - - - - - - - - - - - - - - - - - - - - - - - - - - -
Wait until it finished, following you’ll see the location certbot put their SSL/TLS certificate, remember it for the next step.
Certificate is saved at: /etc/letsencrypt/live/bot.myweb.com/fullchain.pem
Key is saved at: /etc/letsencrypt/live/bot.myweb.com/privkey.pem
Configuring Certificate location to Apache
You got your certificate location, now simply update them on the Apache configuration.
<VirtualHost *:80>
ServerName bot.myweb.com
Redirect permanent / https://bot.myweb.com/
</VirtualHost>
<VirtualHost *:443>
ServerName bot.myweb.com
SSLEngine on
SSLCertificateFile "/etc/letsencrypt/live/bot.myweb.com/fullchain.pem"
SSLCertificateKeyFile "/etc/letsencrypt/live/bot.myweb.com/privkey.pem"
ProxyRequests Off
ProxyPreserveHost On
# Excluding Let's Encrypt challenge
ProxyPass /.well-known/acme-challenge !
ProxyPass / http://127.0.0.1:5555/
ProxyPassReverse / http://127.0.0.1:5555/
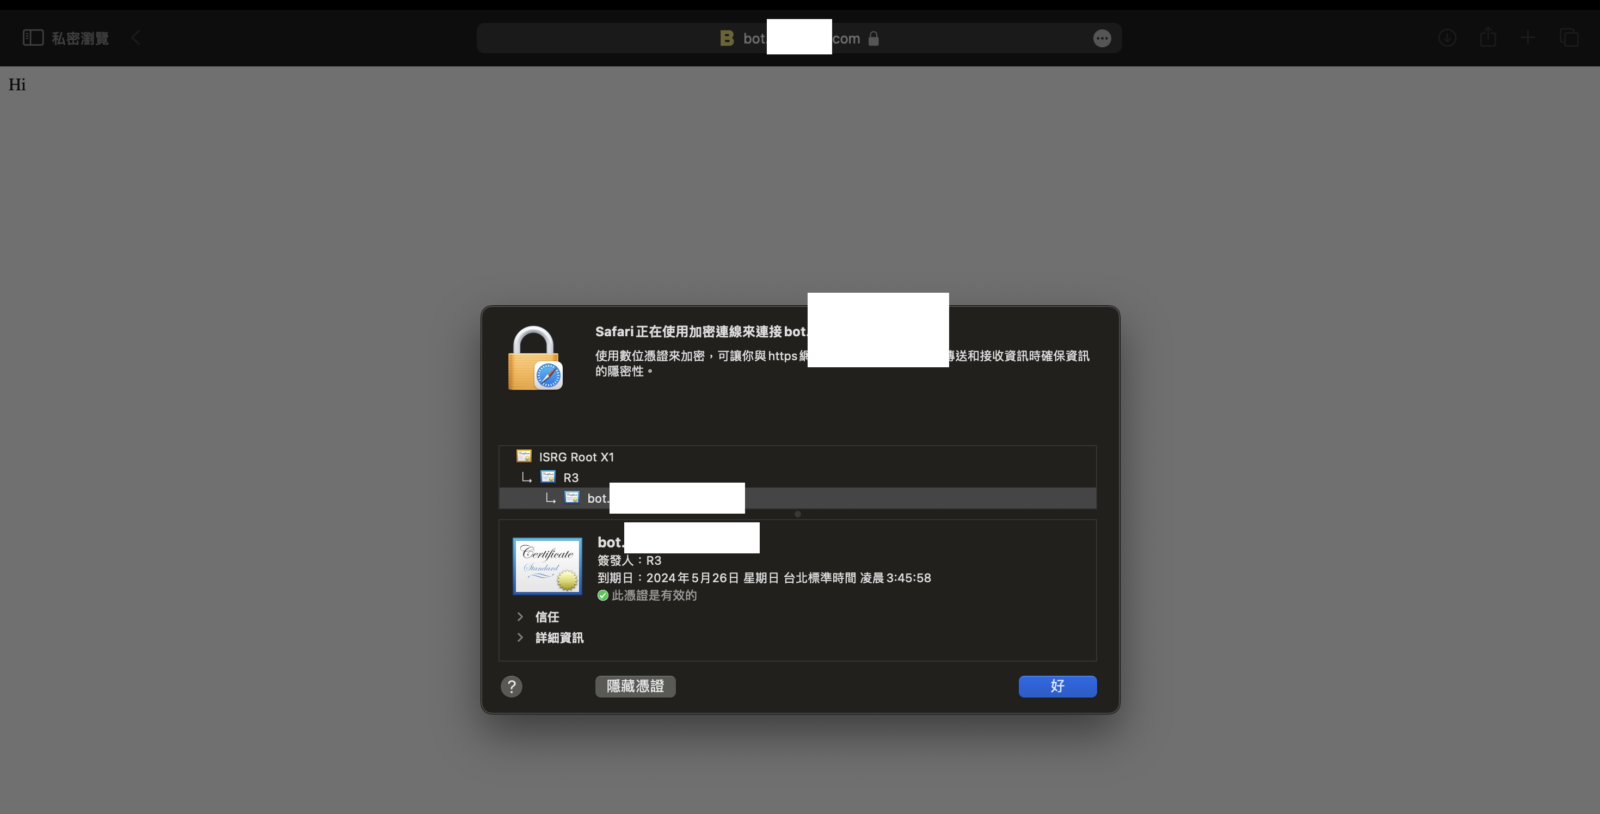
</VirtualHost>Finally, sudo /opt/bitnami/ctlscript.sh restart apache to restart, you’ll find the website has been secured with SSL/TLS certificate! Congrats!